Showing posts with label how to make miniature books. Show all posts

Wednesday, 18 August 2010

Stacks of Books Part 2


Part 2 of Stacks of Books.

Use a steel rule to cut off a book, either from your glued up strip or the strip you cut from the memo pad.

If you are using pre-made books pick one out now.


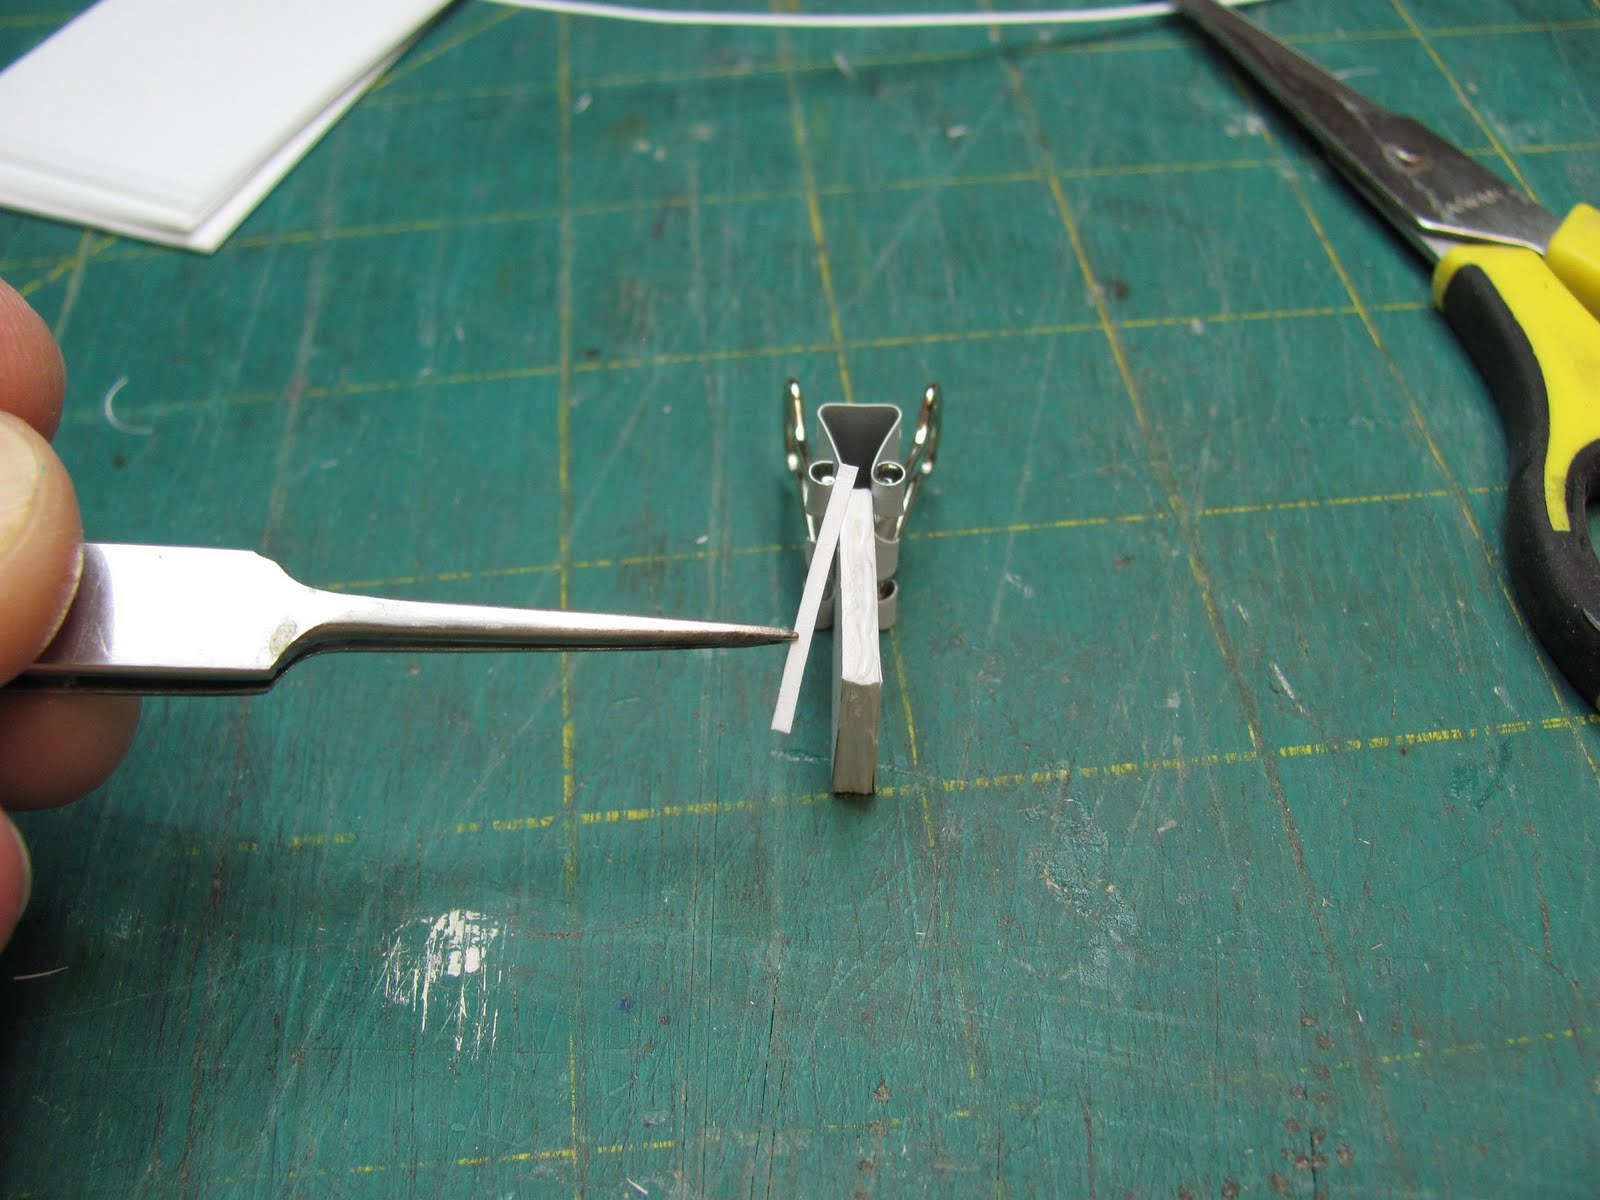
This may be another fussy step, but I do it. I glue a piece or two of card stock on the spine of the book. This helps in rounding out the spine, keeping it from looking so flat. This can be left out.


Trace around the book, or measure the length and width of the book and make the covers from card stock.
Make a spine for the book, also.
I do not add anything for a lip around the book, the covering will add the little bit you need.


Cut small pieces of the stiffened crochet thread and glue to the spine.


Glue the covers and spine to the covering of your choice.

Do you see the little space I left between the covers and spine, this space is less than a 1/16 of an inch. It's not worth measuring, just leave a little space.


Trim the covering around the book cover. Clip the corners.


Glue the covering to the inside of the covers.


This is where we use the embroidery floss. Glue at the top and bottom of the spine.


Apply glue to the inside of the cover and press the book inside. Force the book back towards the spine, the more you do this the better the book looks, I think. If you left a lip around the front of the cover it would be too much, this pushing of the book into the spine gives you enough lip. It also makes the "tooling" show up more. Make a few and you will get better at shaping the cover over the book.

I've used the fabric in this picture.


I used gold paint to highlight the spine.


The sample books. I cut pictures from the Dover catalog to cover a couple and some of the wrapping paper for one, the other is faux leather.


I think they look pretty good on a book shelf.


TTYL Kris

Stacks of Books Part 1


I am going to do this project in 2 parts.

You can cover the books with the "leather" from the project before the ottoman or use glossy magazine paper or fabric.

These books can open, but I prefer to use them for setting around or stacking.


I like Dover Publishers, they still send out catalogs! This is a page from the stationery catalog showing wrapping paper. These small bits make good book covers.


When I use fabric I like to brush on some Modge Podge, let it dry. I like the finish it leaves.


You can try out different methods of your own.


For the books we can use pre-made books or the glued end of a small pad of paper, sometimes called a jotter or memo pad.


If you are going to use the memo pad, use a steel rule to cut the glued end off at 1/2 inch or 9/16 inch.


If you are going to make your own stack of paper here is how I do it.

Take a stack of paper, the thickness you want and clip the ends together.


Apply Elmer's glue to the long edge.


While the glue dries put clips on the long edge.


For decorating the spine with the raised tooling stiffen some crochet thread with Elmer's glue. Let dry.


The stiffened crochet thread.


This may be a fussy thing to do, but I will tell you about it anyway. At the top and bottom of the spine of the book there is fabric sticking out, it's usually gold colored. We are going to imitate this with embroidery floss. Separate the floss to one strand.
I like a striped look, so I tie 2 colors of floss together and then hold onto the knot in one hand and the other ends in my other hand. I begin twisting, rolling the floss between my fingers and thumb, twist until it's tight. Bend the center of the twisted floss around a pencil that is secure and let the floss twist back onto it's self. You can gently hold onto the ends of the floss so it doesn't get away from you. You can do this with a little hand held drill, too.

You should have a tightly twisted rope. This is how I make my trim for the furniture, twisting the floss this way. I usually use one color, but if you want a two color trim, remember to tie the colors together and twist from the knot.
If you don't get this, I will try to take a picture with some help. I just couldn't do it by myself. Let me know if any of you need help.


End of Part One.

LinkWithin